DIY Fall Garlands
November 16, 2021
With fall weather and activities in full swing, it’s time to start decorating for them! Whether it’s a few pumpkin spice candles scattered around your house or a full-on haunted house in your front yard, decorations definitely add to the spirit of the season. A personal favorite, and easy DIY, is a fall-themed garland. From leaves to ghosts, pumpkins, and bats, there are many ways to create your own festive décor for around your house.
Colorful Paper Chains
Probably the easiest for all skill levels, a paper chain can brighten any entryway! The supplies you will need are colorful construction paper, scissors, glue or stapler, and tape. First, pick as many or as few colors as you would like for your chain. Next, cut the paper into long strips (the longer the strips the bigger the loops of paper). Then take one of the strips and attach it to itself using either the glue or staples, creating a closed circle. Take your next strip of paper and feed it through the circle, attaching this strip of paper to itself as well. Continue this process until you have reached your desired length. Once completed, either drape the chain over a table or use tape to hang it from a doorway!
Hanging Leaves
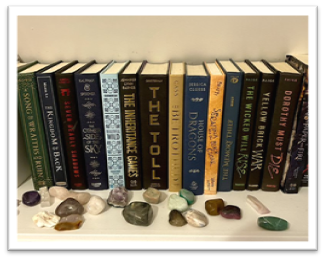
This next garland takes a little more preparation and skill. The materials that you will need include dried and pressed leaves, heavy books, parchment paper, twine or string, and tape. For the leaves, find some in good condition from outside that are not ripped or gross, making sure that they all have stems between 2 and 3 inches. Next, place parchment paper in between pages of the heavy book and lay the leaves flat inside. Close the book carefully and lay more weight on top of it to ensure that the leaves are getting flattened. The leaves will need to be left for up to two weeks, so this garland does take more planning out.
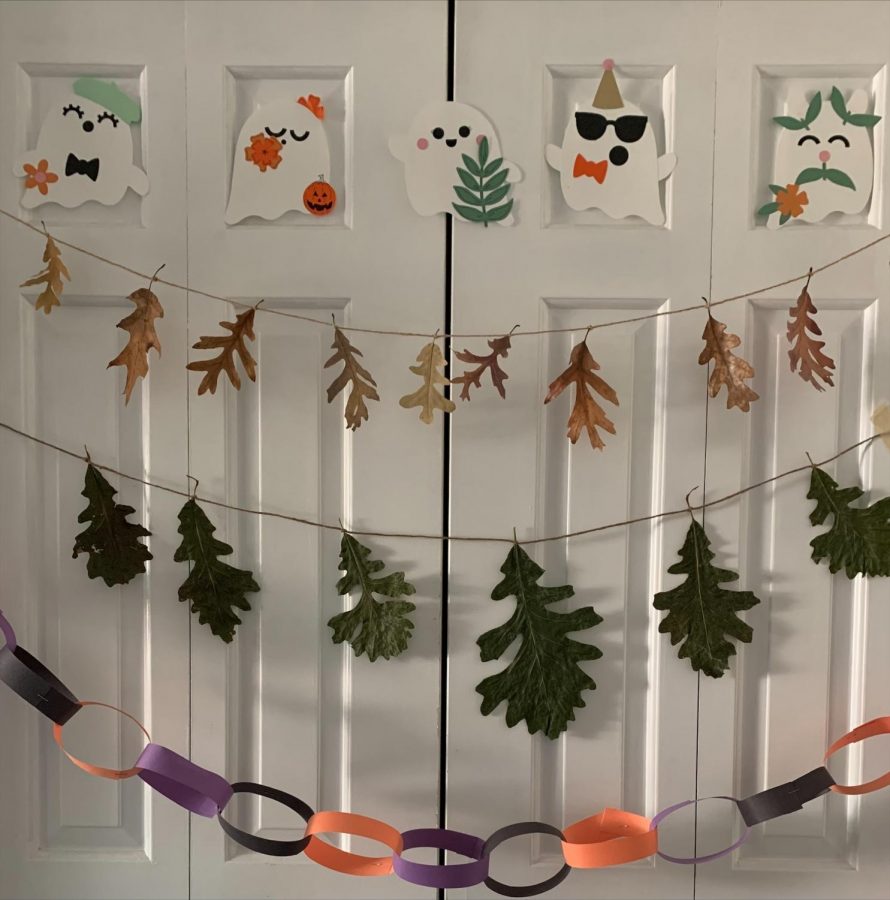
Once the drying process is complete, carefully remove the leaves from the books. Take the twine or string and leave about 6 inches from the end of it. Then begin tying the leaves to the string as shown. Once you have reached your desired length or have run out of dried leaves, leave about 6 inches from the last leaf on the string, and cut it from the roll. Your leaf garland is complete! Use tape to hang it up and enjoy your new fall décor!
Ghosts/Kits
For an easier option, you can always buy a prepared garland kit! These take very little preparation and can be found in a variety of themes. I tried out the “Halloween Party Ghosts Craft Kit” from Paper Source, which had the option of turning it into a garland but could also be left as just the ghosts. The kit included lots of paper cutouts to glue or tape onto the ghosts, in many color variations, as well as examples for possible combinations. This option would probably be best if you’re working with younger kids, or don’t have a lot of time to prepare for a big craft!
Keeping all of this in mind, the colors and styles used can be changed according to the season or holiday, making these all great crafts year-round! Enjoy!